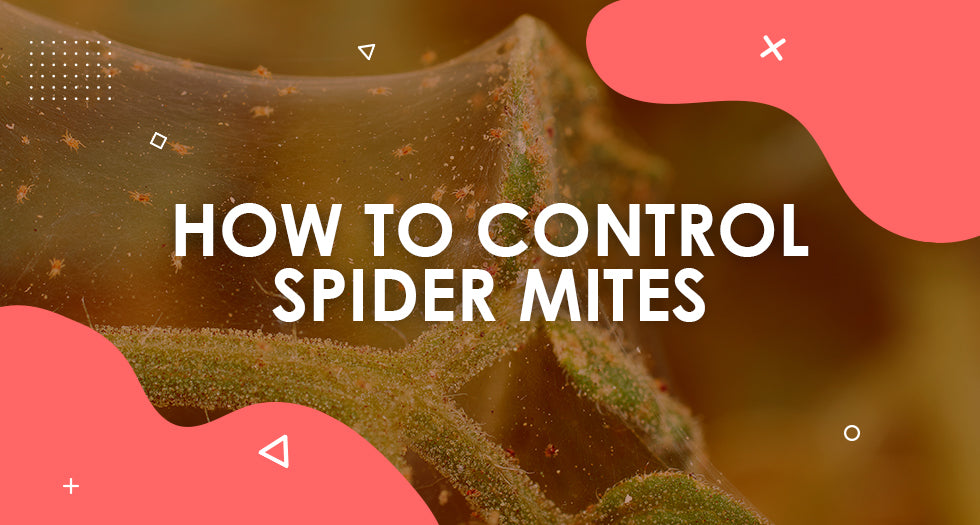
How to Control Spider Mites
Spider mites are a common pest that feed on plant sap and can cause a considerable amount of damage. They can ruin crops and can even kill your plants if the infestation is not treated in good time. We explore what these insects are, how to get rid of spider mites and ways to prevent repeat infestations.
What is a spider mite?
Spider mites are members of the arachnid family and have some similar characteristics to spiders. They produce webs, and have eight legs. The webs are used to create a transport like network across the plant. These tiny pests are microscopic and can be very hard to identify without using a microscope. Once you identify the infestation, it’s essential that you act fast as these reproduce at alarming rates, and can completely take down a crop within just a couple of weeks.

Do I have spider mites?
The best way to check is by using a microscope. Spider mites are less than a millimetre in length making them almost impossible to see with just your eyes. They are most typically observed in two colours, black and white.
The first sign you may notice is leaf damage. Affected leaves will begin to turn yellow and develop a spotty texture. The spotted patches indicate where the mites have been feeding from. If you look closer around the nodes and stems of the plant, you may notice tiny little webs forming.
To tackle your infestation, you must first understand the lifecycle of a spider mite.

Essentials Illuminated Magnifier Loupe
|

Phonescope Magnifier
|

Essentials Illuminated Microscope (100x)
|
Spider Mite Life Cycle
Like most pests, the life of a spider mite begins as an egg. These tiny eggs can stay hidden in the substrate, bark and leaves of the plant. They can stay dormant for a lengthy period of time before hatching – most commonly during warmer temperatures.
Once they have hatched, the tiny larvae will begin feeding on the plant. After a few days, they will molt into their nymph stage, where they will remain for a couple more days before transitioning into an adult. As spider mites can feed at all stages of their life, they can damage your plants from the moment they hatch.
These mites can lay up to 300 eggs at a time, making the population become out of control in a very short period of time. If your grow space is kept at warmer temperatures, the mites will reproduce at a much faster rate, reaching adult stage within 4-5 days.
How to tackle your spider mite infestation
There are a few different ways you can deal with an outbreak. An infestation on outdoor plants can in some cases be lessened due to the presence of natural predators like ladybirds. In the event of a spider mite infestation on your outdoor crop, using pesticides will unfortunately impact the beneficial insects that will also be present on your plants.
When growing indoors, whether in plant pots, container gardens or with hydroponics set-ups, an outbreak of spider mites can be more detrimental to the crop due to the lack of any beneficial insects or predatory mites being present in the space. With this in mind, when growing in a controlled environment, you will have to keep an eye out for potential pest outbreaks as these will worsen much faster.
Research has shown that spider mites will very quickly develop resistance to pesticides. This can be very problematic as when they develop resistance, they often pass this new genetic trait to their offspring, meaning the next wave of mites that hatch will be completely unphased by the pest management solution you have been using. With this in mind, growers often use a combination of pesticides to stop the mites from building a resistance.

Maven Skram Plant Wash
|

Dr Forest Emulsified Neem Oil
|

Biogreen Garlic
|
Treating an infestation
Step 1 – Remove infected leaves
Wearing a pair of gloves, work through your plants, removing all infected leaves. You will notice that spider mites will congregate mostly in patches, making it easy to identify what needs to be removed.
Step 2 – Wash plant with clean water
Once you’ve removed the heavily infected leaves, give your plant a good wash with clean water. Ideally reverse osmosis water if you have it.
Step 3 – Use a strong insecticidal spray or plant wash
Skram and Neem Oil are two great natural solutions for dealing with your outbreak. Dilute in accordance with the instructions and thoroughly wash your plant. Ensuring that you totally cover both sides of the leaves.
Step 4 – Alter your environment
Spider mites love warm, dry environments. After treatment, it’s recommended that you lower your temperatures a little, and increase your humidity to create more unfavourable conditions.
Step 5 – Introduce an additive to strengthen your plants
Silicon additives have been shown to strengthen your plants' response to dealing with improper environments, as well as making them more resistant to pest attacks. Whilst using silicon is not going to stop you from getting spider mites, it will allow your plants to cope better when under attack, giving you more time to deal with the infestation.
Step 6 – Keep treating after you think the infestation is under control
As the eggs can stay dormant for extended periods of time, it’s essential that you keep treating your plants for a couple of weeks after you think that the outbreak has been dealt with. If you’re struggling to keep the spider mites at bay, and are noticing that they are still present after treating a few times, make sure you switch up your pesticides. We have a huge range of internal pest management solutions to choose from.
Shogun Silicon
|

Biogreen X-Force
|

Mills Vitalize
|

SHOP NOW READ MORE


